If I don’t do this the easy way, I never will. So here’s a quick and dirty patio tour. No professional level photos here folks. What I managed to snap with my phone is what you get. Let’s begin!
Here’s the “before”:
 The “yard”.
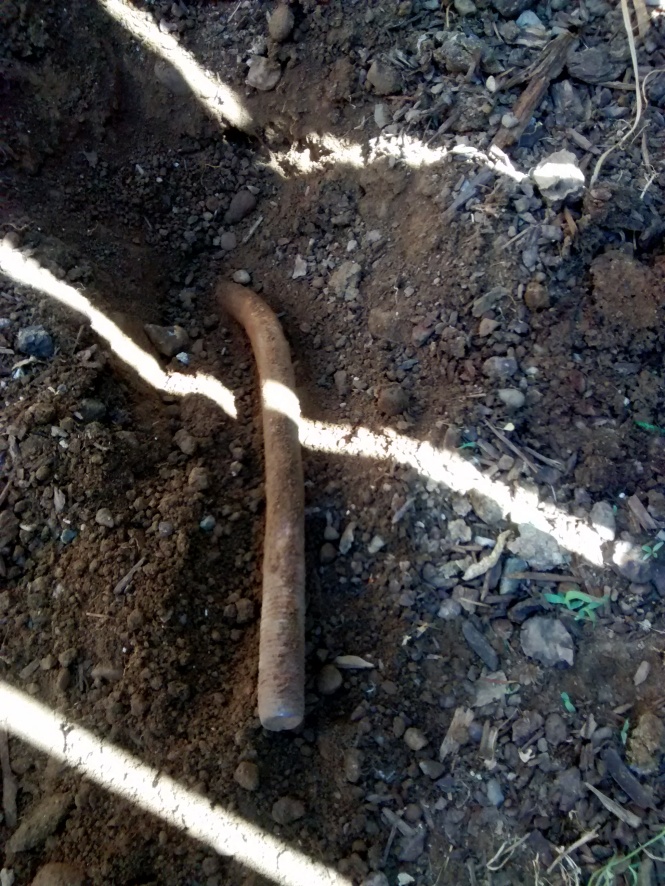 Rebar in the “yard”.
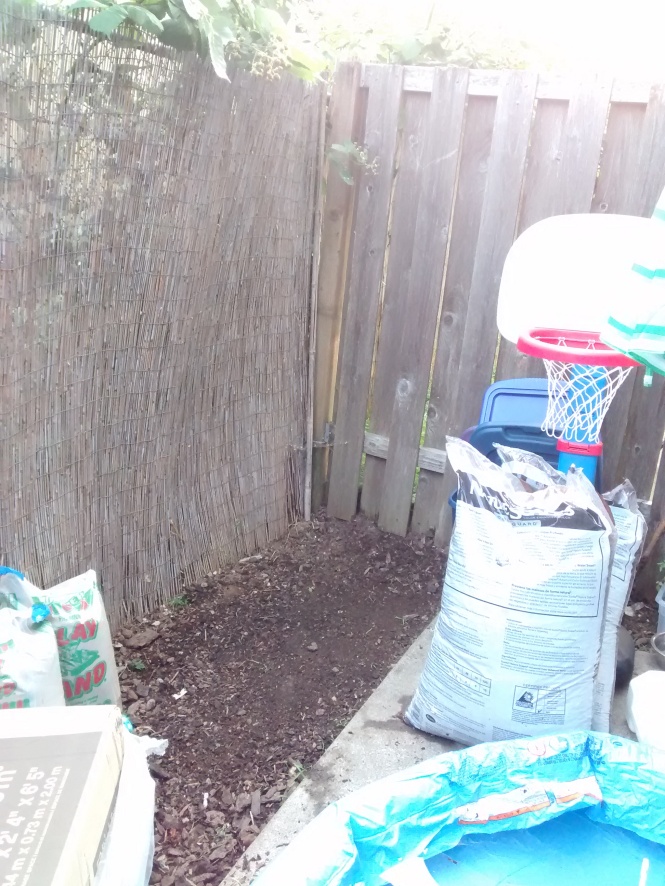 Aging bamboo privacy fencing and what used to be a barked area.
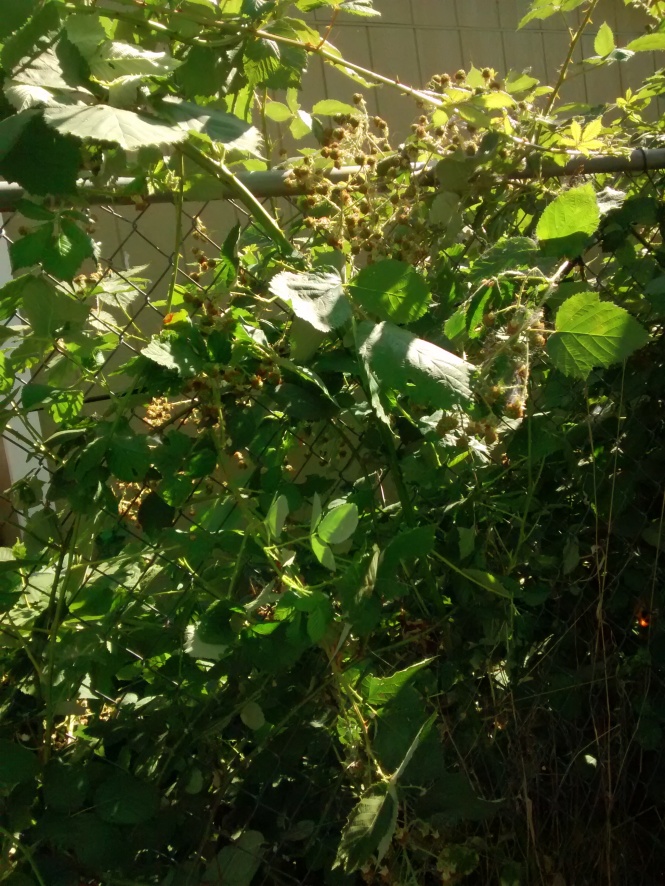 Blackberry vines, coming over and through the fence.
Here are some of the upgrades we did: (P.S. You’ve already seen a few here.)
After I put down the faux turf and changed out the bamboo privacy fencing, there were just a few things left to do. First up was to install our “outdoor cuboard”. Also known as a Rubbermaid Roughneck Shed. The model we got is roughly 2’Dx4.5’Wx6’H and holds a surprising amount. We built a little platform out of cement pavers to make it level with the patio. (See that broken one? It nearly broke my pinky toe. Jerk.)
 Building the platform.
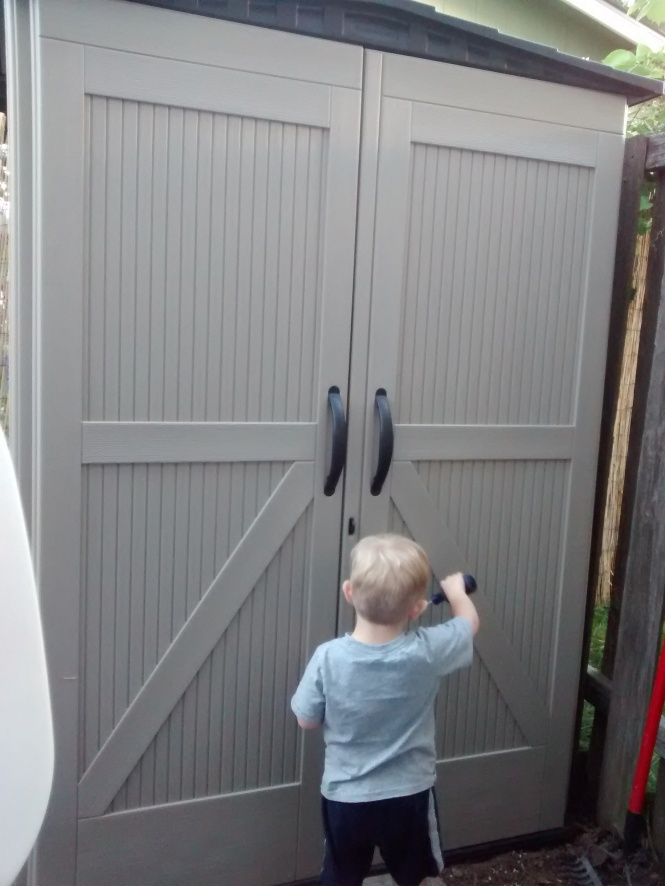 Rex putting the finishing touches on the shed.
Next I rebarked the debarked area and added some concrete bricks to separate it from the turf, as well as keep the edge of the turf from lifting.
 Much better!
All of that happened a couple weeks ago. Here is how it looks today.

The view as you step out the sliding glass door. We haven’t acquired patio furniture yet, so we’re using some spare dining chairs in the meantime. My “garden” is to the right. There are three types of tomatoes, basil, sunflowers, and rosemary, as well as my Mother’s Day rosebush. There is an existing rosebush that I have yet to decide the fate of.
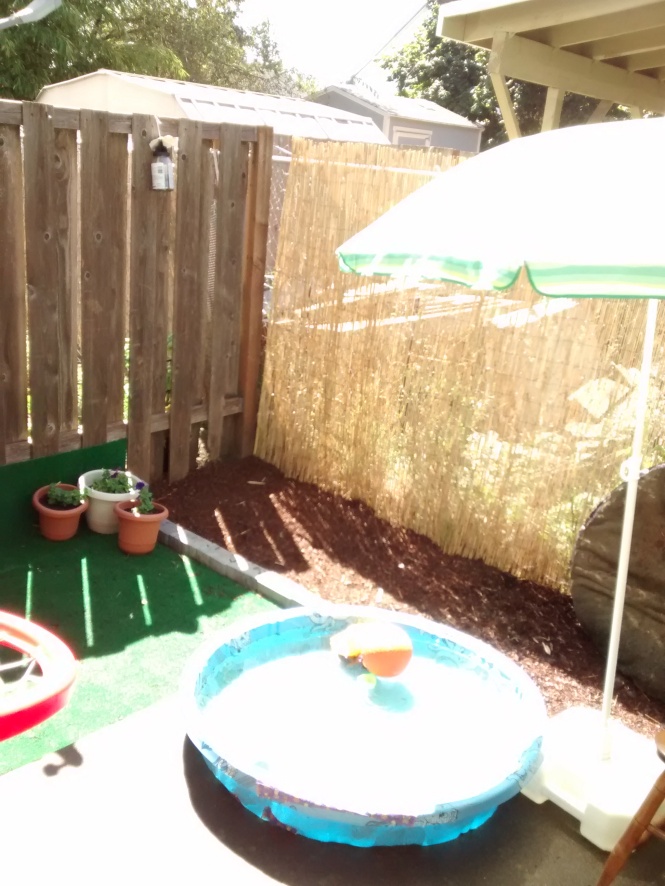
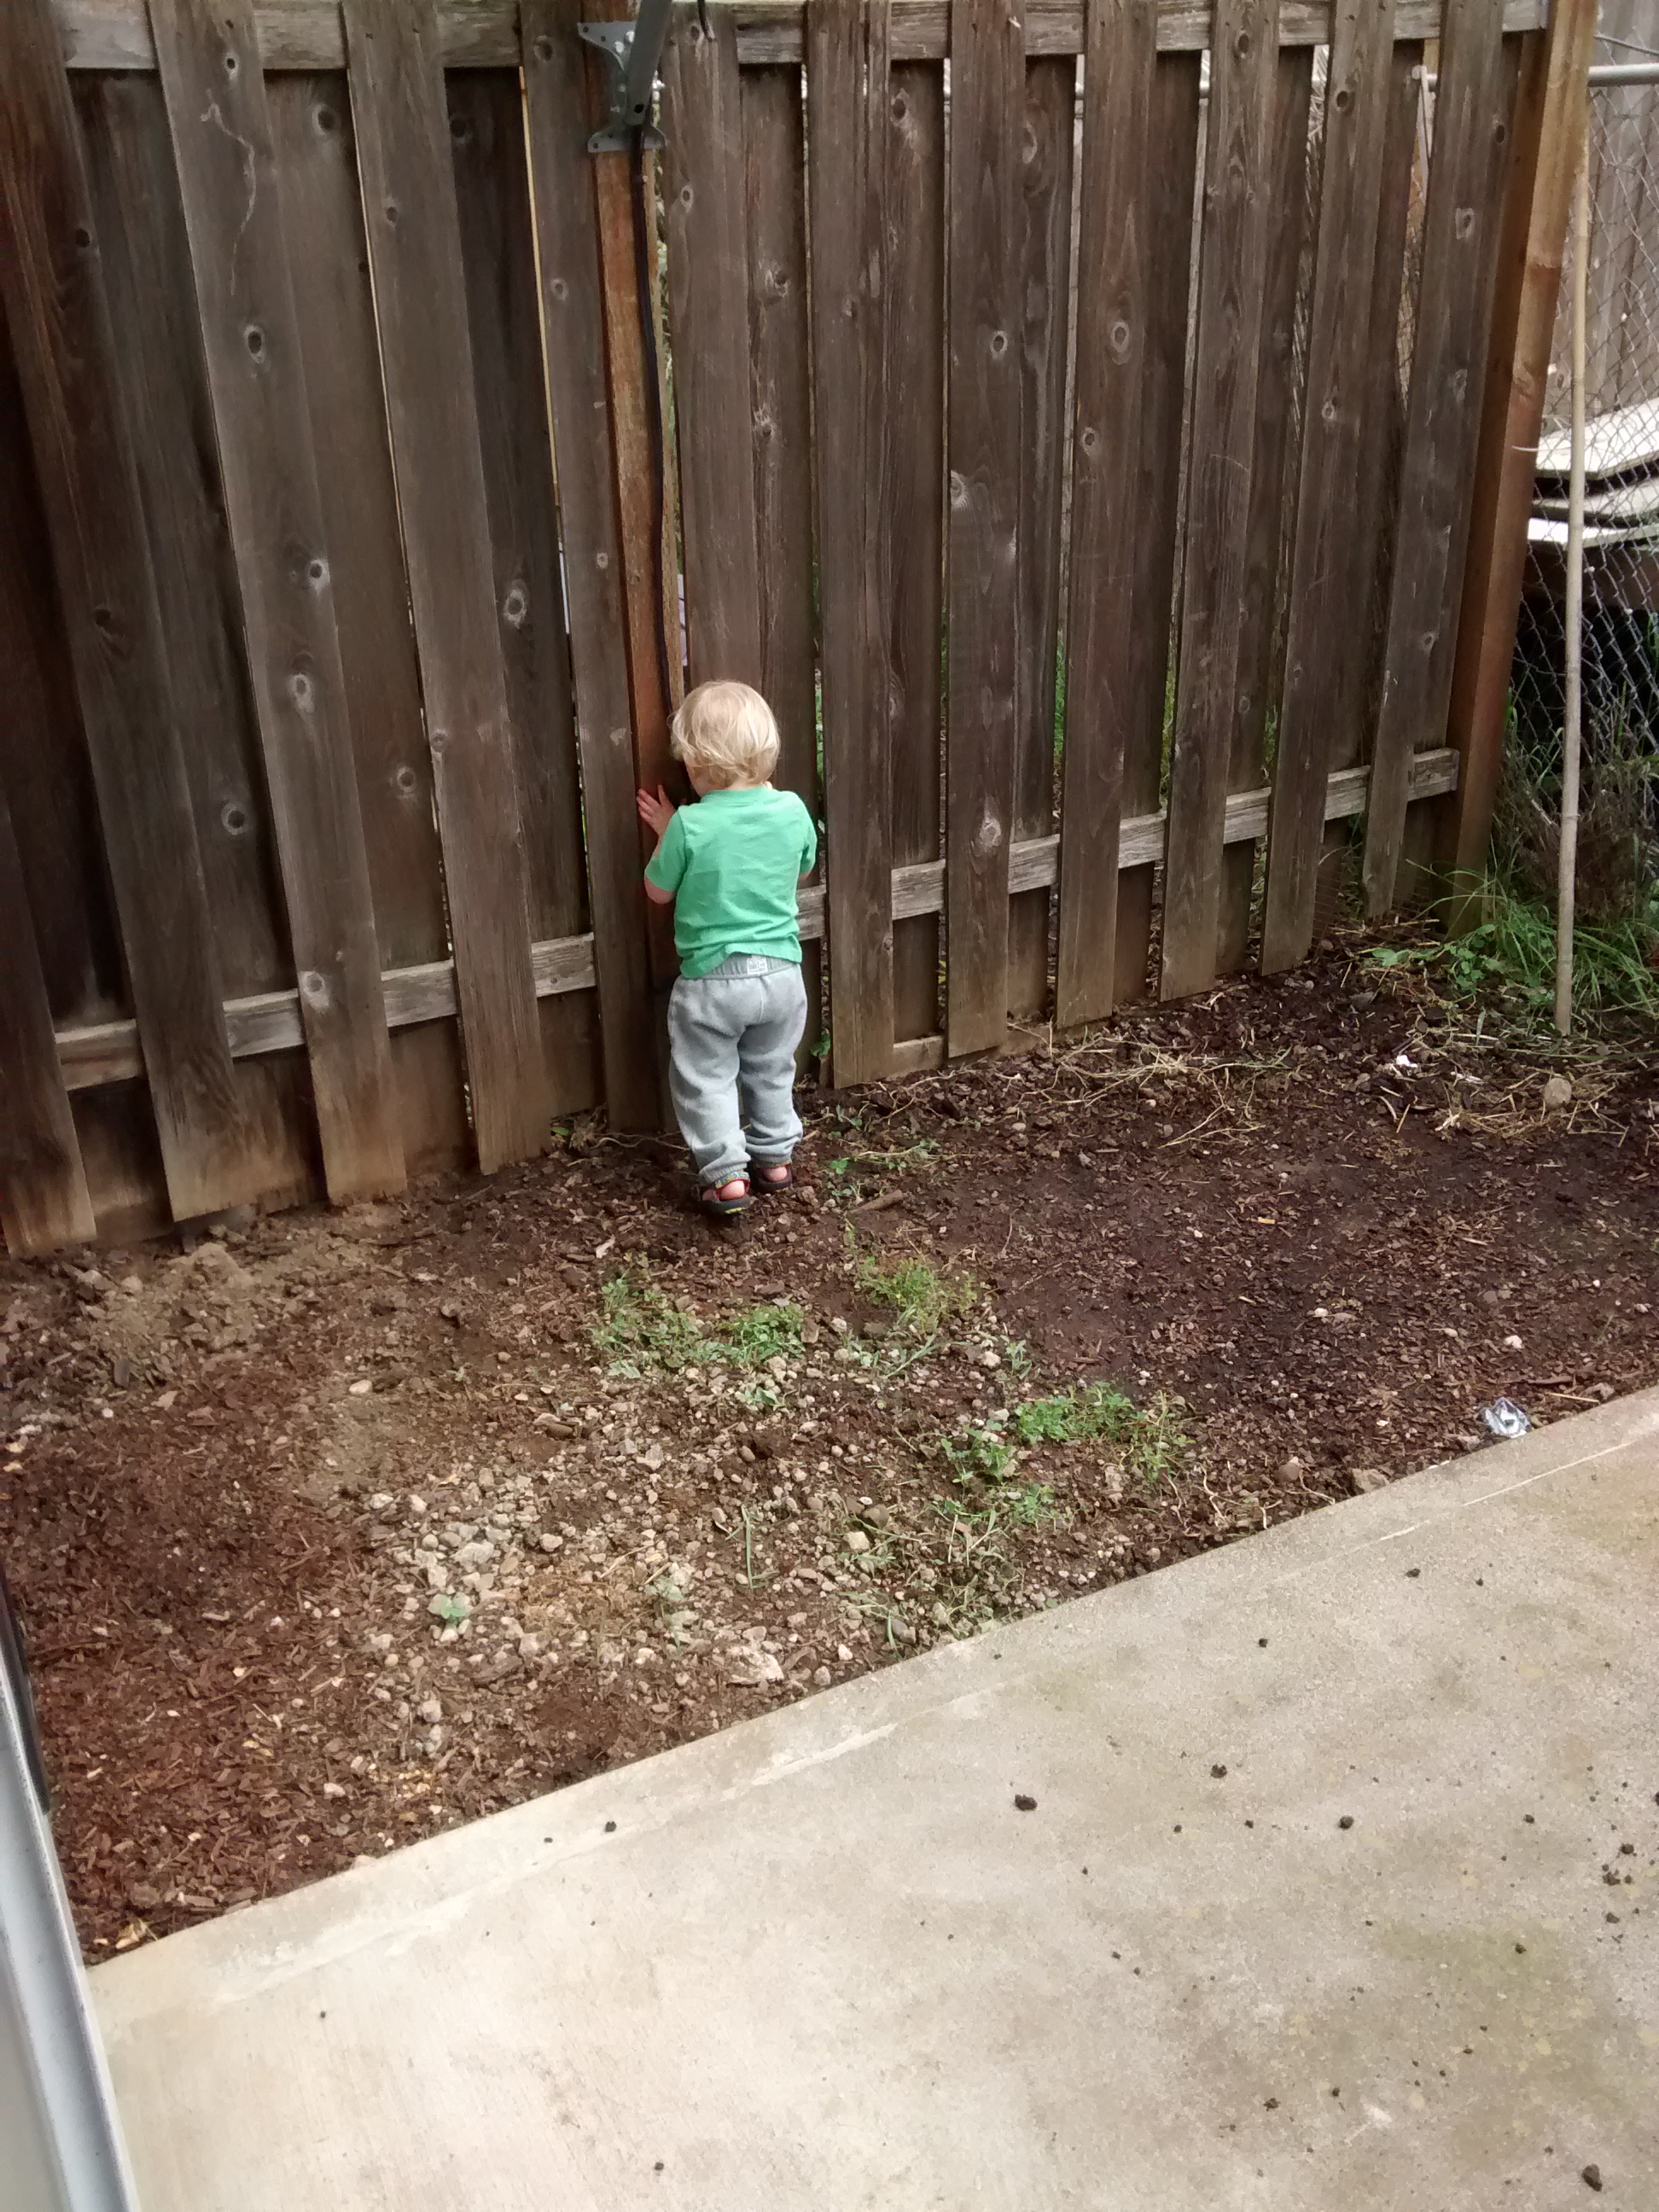
A terribly bright photo of the corner of the yard. You can see his little wading pool resides on the corner of the patio. The bark area is where Chloe does her business (she has little interest in the turf I put down for her).
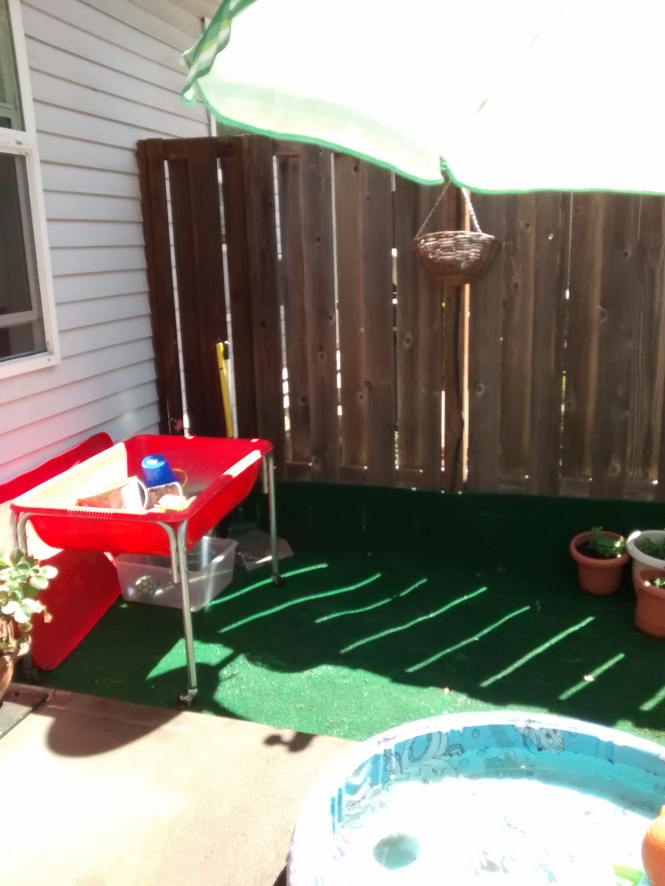
The view to the left of where you step out. There is the “yard” area with Rex’s sandbox and my pots of petunias.
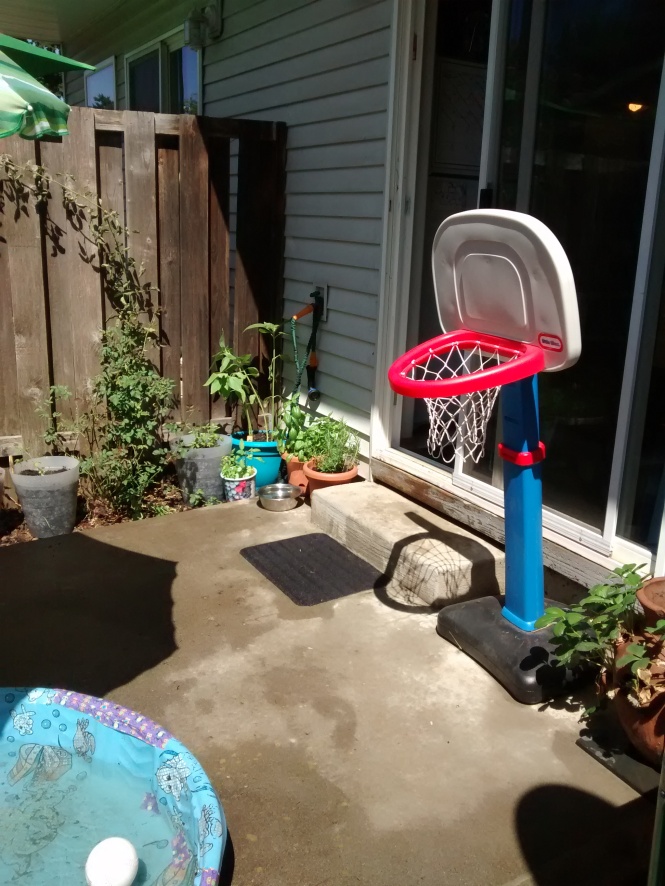
And, finally, the view from the opposite corner of the yard, facing the sliding door. My strawberries reside opposite the rest of the plants, next to Rex’s basketball hoop.
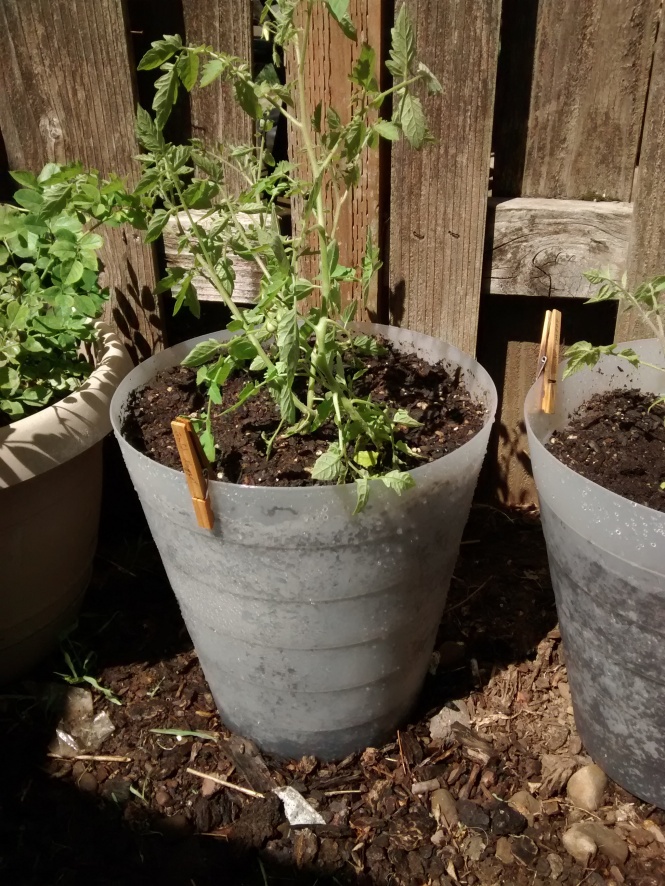
And, just because I’m super pleased with them, a picture of my hacked tomato planters. These are $2 FNISS planters from IKEA. I drilled some drainage holes in the bottom, filled them with dirt, and planted my tomatoes.
And that’s the outdoor space. We still have more finishing touches to add, but for now, it’s quite livable out there. Now, if only the temperatures would come down a bit, we could actually enjoy it!
 These pink flowers were covered with honeybees.
 Sunflowers taller than myself.
 Particularly striking, these were growing alongside a fence.


 T
T R
R A
A

 R
R


